Create a product
Goal
To create a new product in the PIM module, ensuring it is properly configured and categorized for efficient management and customer findability. This guide covers creating standalone products and assigning them to appropriate categories.
Step 1: Navigate to Products
- From the backoffice menu, select PIM > Products & Clusters.
- Click New Product button in the top right corner.

Step 2: Configure Product Information
The product creation screen is organized into tabs and sections. Use the right sidebar to navigate between sections or scroll through the page.
General Information
- Name: Enter the product name (multi-language supported)
- SKU: Unique product identifier
- Short description: Brief product overview
- Long description: Detailed product information
- Status: Set to Active, Inactive, or other custom statuses
Pricing & Inventory
- List price: Standard selling price
- Cost price: Product cost
- Tax code: Select appropriate tax category
- Minimum quantity: Minimum order quantity
- Unit: Sales unit (piece, box, etc.)
Product Details
- Manufacturer: Product manufacturer name
- Manufacturer code: Manufacturer's product code
- EAN code: European Article Number
- Supplier: Product supplier
- Supplier code: Supplier's product code
Additional Settings
- Orderable: Toggle if product can be ordered
- Returnable: Toggle if product can be returned
- Physical: Indicate if physical product or service
- Hidden: Control catalog visibility
Click Save at the top right when all required fields are complete.

Step 3: Locate the New Product
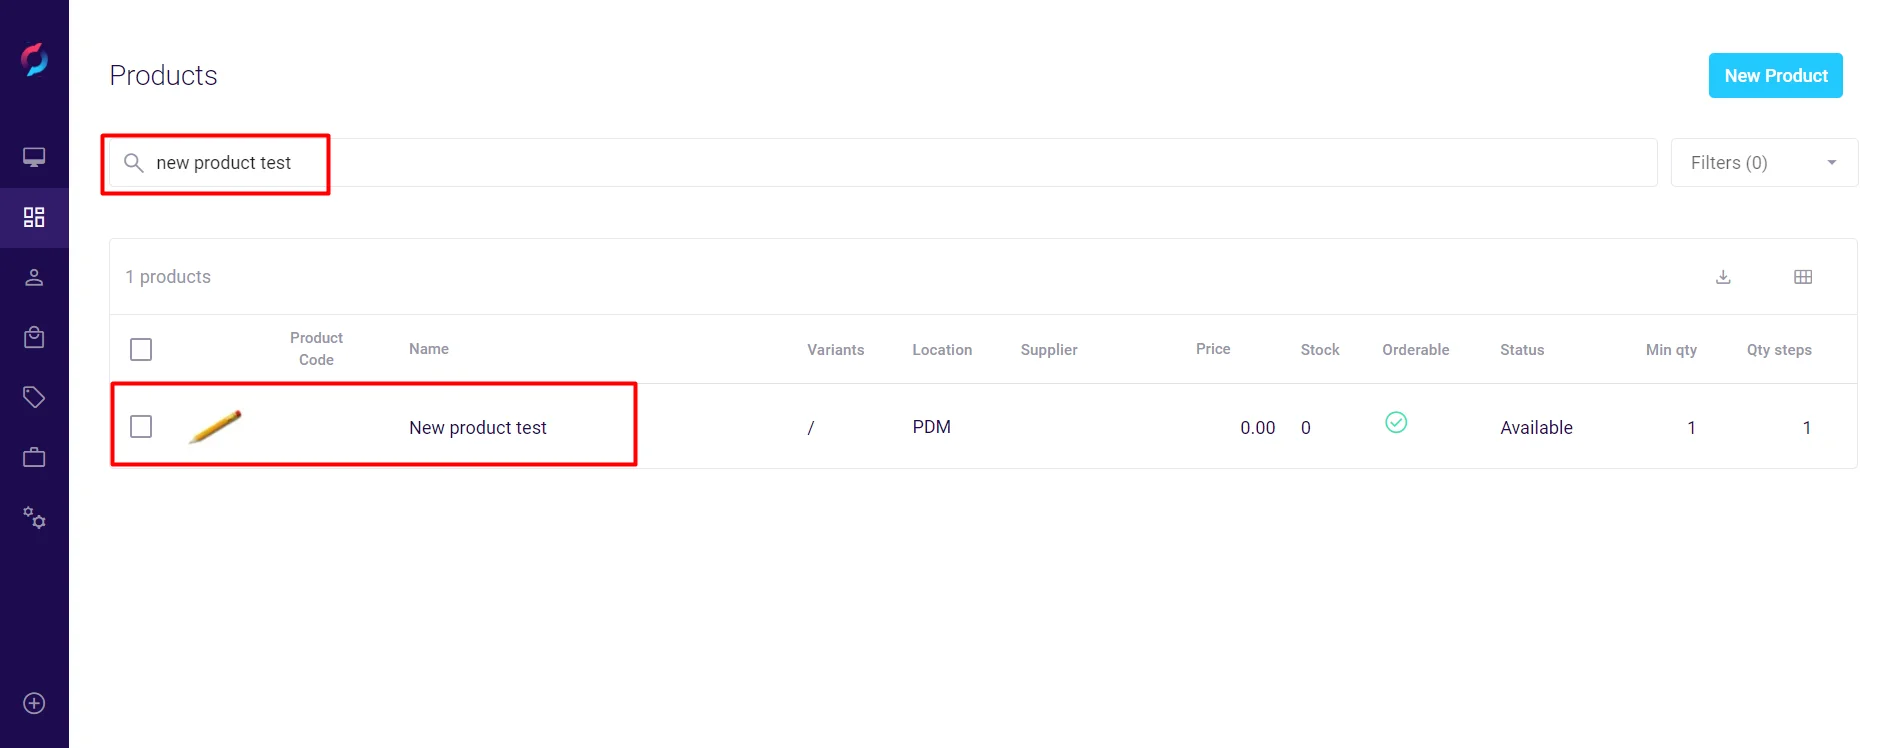
- Products are initially saved under the PDM (Product Data Management) root category.
- To find your product:
- Use the search bar in PIM > Products & Clusters
- Search by product name, SKU, or code
- Click on the product to view or edit details.

Step 4: Assign to Product Category
- Navigate to PIM > Categories.
- Browse the category tree to find the appropriate category.
- Hover over the target category and click Add products.
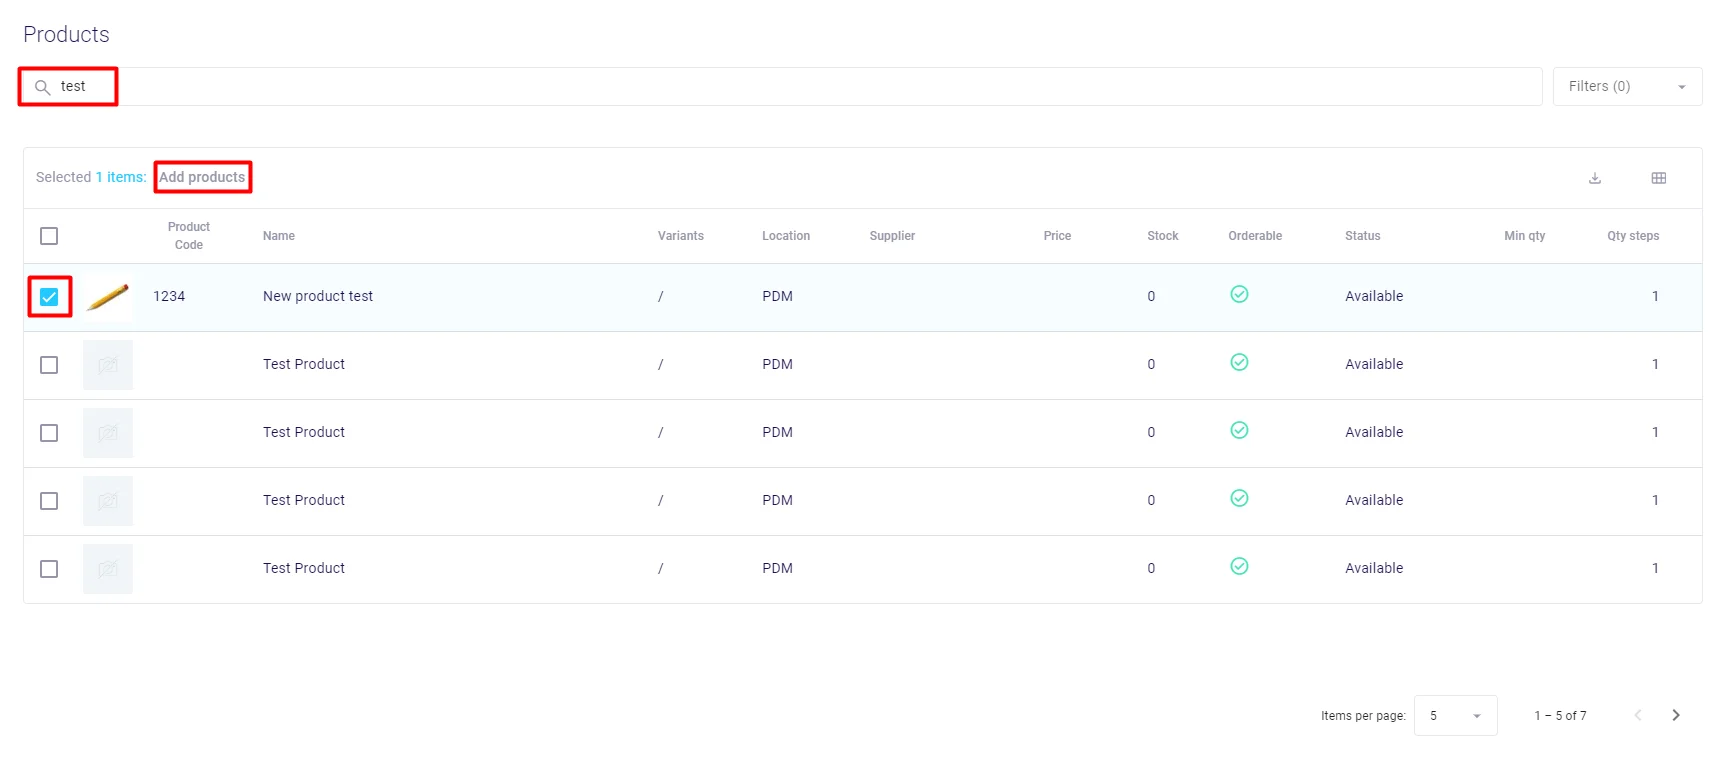
Step 5: Select Products to Add
- In the product selection screen:
- Search for products by name, SKU, or code
- Use filters to narrow results if needed
- Select the checkbox next to each product to add.
- Click Add products to assign them to the category.

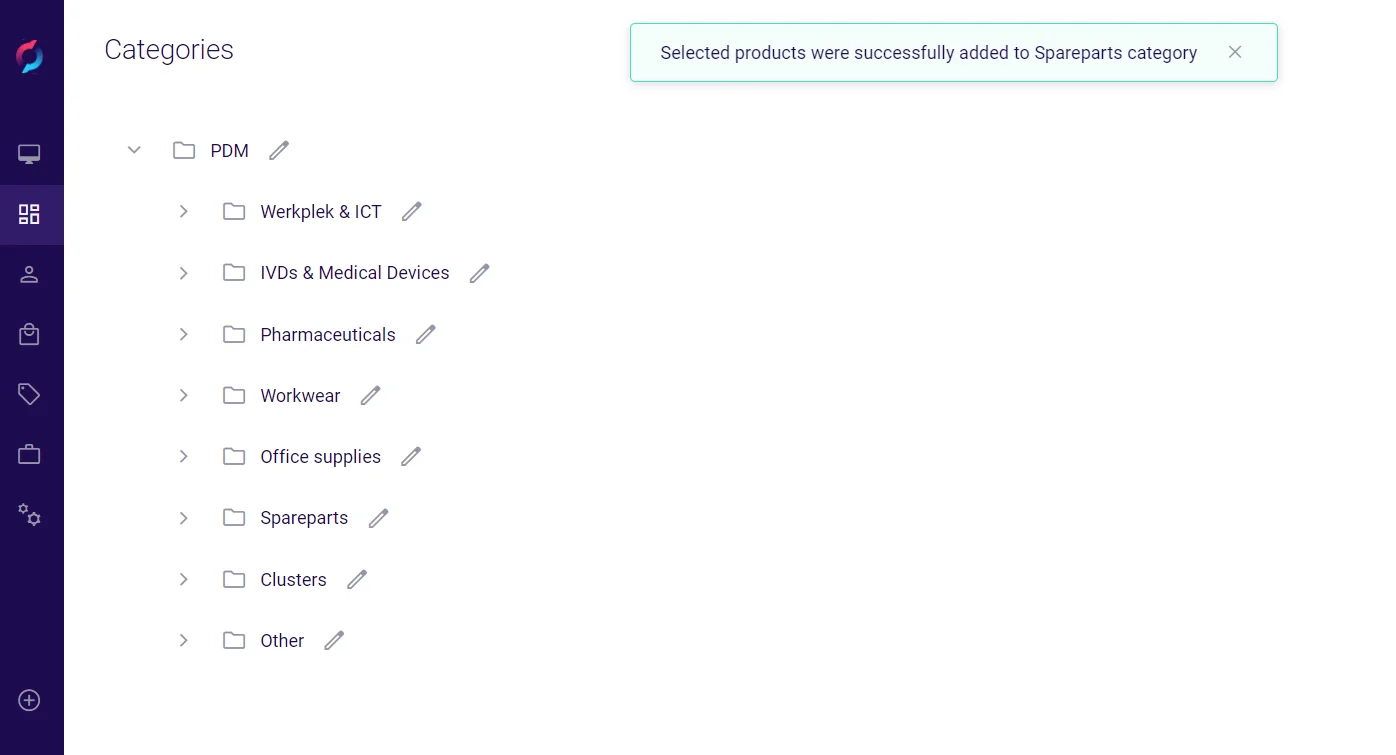
Step 6: Verify Category Assignment
- A success message confirms products were added to the category.
- Products can belong to multiple categories if needed.
- To verify, navigate to the product and check the Categories section.

Moving Products to Clusters
Standalone products can be moved into clusters to create product variants:
- Open the product you want to move.
- In the product details, locate the Cluster field.
- Select the target cluster from the dropdown.
- Click Save to move the product into the cluster.
- The product becomes a variant within that cluster.
Important considerations when moving to clusters:
- Ensure the product has values for all cluster definition filters
- The product will inherit the cluster's drill-down structure
- Verify the product fits the cluster's variant logic
- Test the cluster behavior after adding the product
After Creating a Product
Consider these additional configurations:
Add Product Media
- Upload product images in the Media section
- Add videos or documents
- Set primary image for catalog display
Configure Attributes
- Add product-specific attributes
- Set technical specifications
- Configure filterable attributes for search
Set Up Cross-selling
- Link related products
- Add accessories or alternatives
- Configure bundle options
SEO Optimization
- Complete metadata fields
- Set canonical URLs
- Configure URL slugs
Best Practices
- Consistent Naming: Use clear product naming conventions for easy searching
- Complete Information: Fill all relevant fields to avoid incomplete product data
- SKU Standards: Follow company SKU format (e.g., BRAND-CATEGORY-001)
- Multi-language: Configure product names and descriptions for all supported languages
- Category Assignment: Always assign products to appropriate categories for customer navigation
- Save Behavior:
- Click Save for product details and descriptions
- Media uploads and bundle additions save automatically (Save button becomes grey)
- Regular Updates: Keep product information current with regular reviews
Common Product Types
Simple Product
- Single SKU
- Fixed price
- No variants
- Example: Book, single tool
Configurable Product
- Part of a cluster
- Multiple variants (size, color)
- Shared base attributes
- Example: T-shirt in multiple sizes
Bundle Product
- Combination of multiple products
- Special bundle pricing
- Can include required/optional items
- Example: Computer with keyboard and mouse
Service Product
- Non-physical item
- Set "Physical" to No
- Often non-returnable
- Example: Warranty, installation service
Important Notes
- Products must be assigned to categories to appear in the catalog
- The PDM root category is for product management only, not customer-facing
- Products can belong to multiple categories simultaneously
- Use the bulk import feature for creating many products at once
- Product visibility depends on both status and hidden settings
- Products can be moved between standalone and cluster configurations as needed