Add images to products
Goal
To upload product images in the PIM module, providing visual representation that helps customers identify and evaluate products. Multiple images can be added to showcase different angles, details, or variants.
Step 1: Navigate to the Product
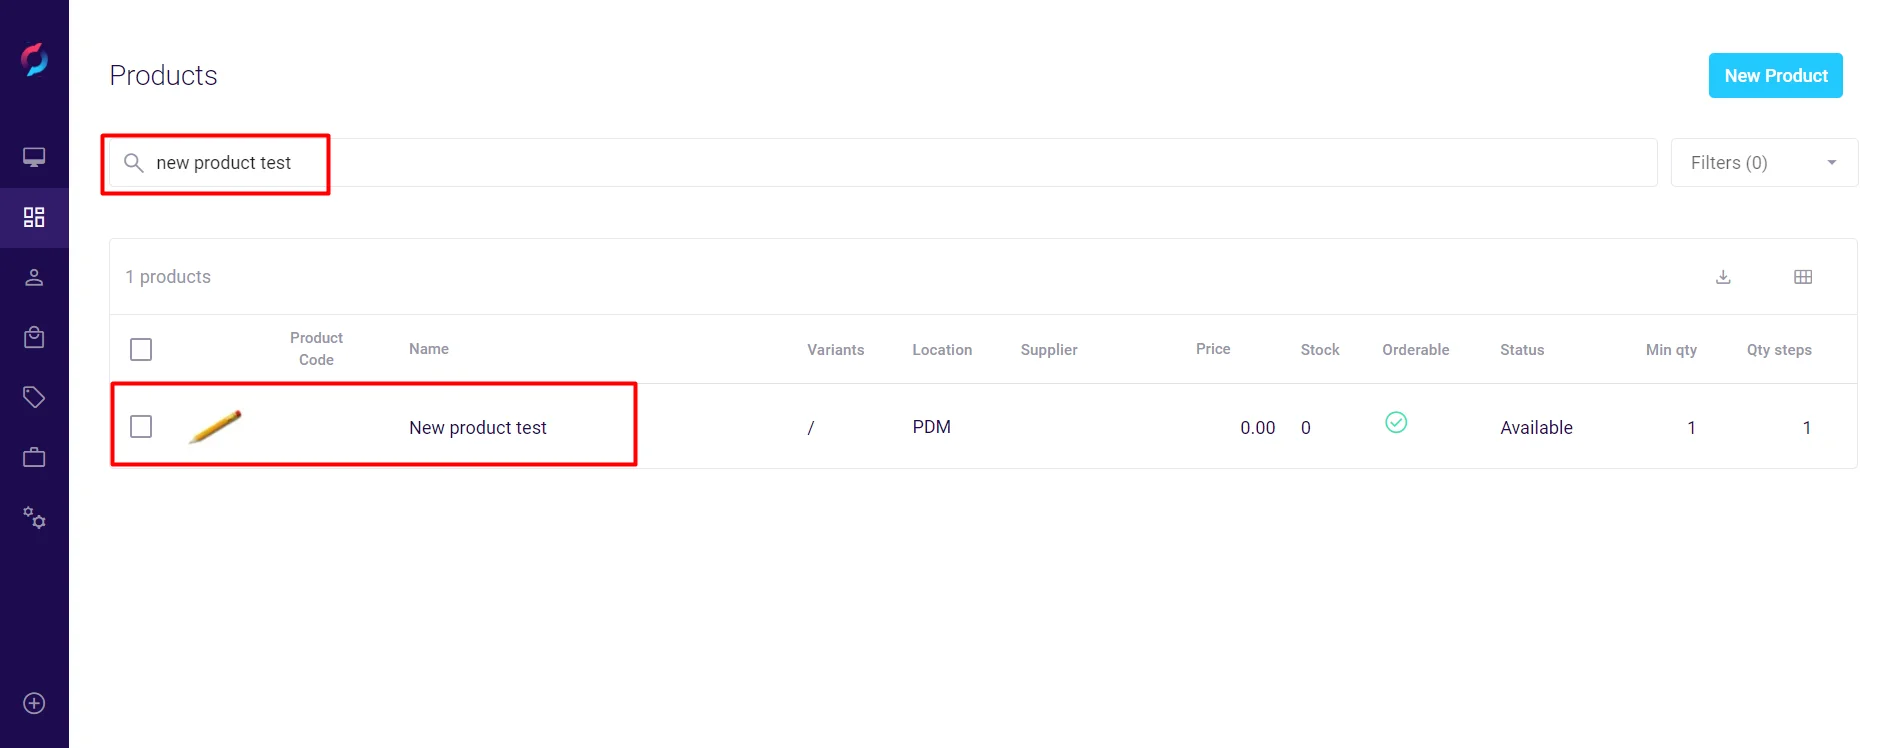
- From the backoffice menu, select PIM > Products & Clusters.
- Search for the product using:
- Product name
- SKU or product code
- Category filters
- Click on the product to open its details.

Step 2: Upload Images
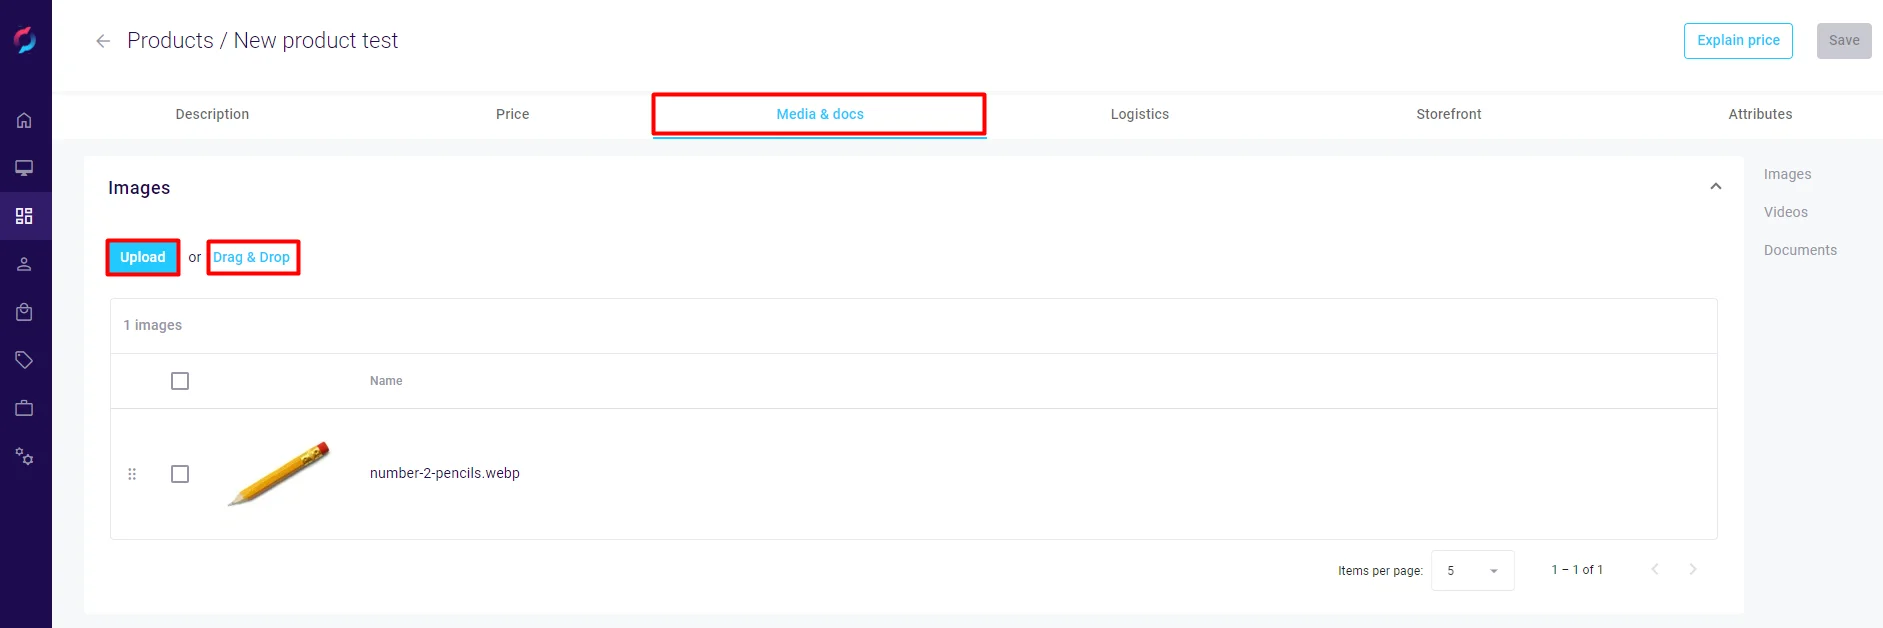
- Click the Media & Docs tab in the product details.
- In the Images section, add images using one of these methods:
- Click Upload to browse and select files
- Drag and drop image files directly into the upload area
- Copy an image from another source and paste directly into the upload area (Ctrl+V or Cmd+V)
- Supported formats include at least:
- JPG/JPEG
- PNG
- GIF
- A success message confirms each image upload.
- Images save automatically - no additional save action required.

Managing Product Images
Image Properties
- Primary Image: Set one image as the main product photo
- Display Order: Drag to reorder images
- Alt Text: Add descriptions for accessibility and SEO
- Image Tags: Categorize images (e.g., "front view", "detail")
Image Actions
- Preview: Click to view full-size image
- Edit: Add alt text or tags
- Delete: Remove unwanted images
- Reorder: Drag and drop to change sequence
Best Practices
Image Quality
- Use high-resolution images (minimum 1000x1000 pixels)
- Maintain consistent aspect ratios across products
- Optimize file sizes for web performance
- Use white or neutral backgrounds for main images
Image Coverage
- Include multiple angles (front, back, side, top)
- Show product in use or context
- Highlight important details or features
- Include size reference when relevant
Organization
- Name files descriptively before uploading
- Set meaningful alt text for each image
- Use consistent image styles within categories
- Remove outdated or duplicate images regularly