Create a user
In Propeller Commerce, there are 3 types of users:
Companies (B2B), Contacts (B2B), and Customers (B2C).

Companies (B2B)
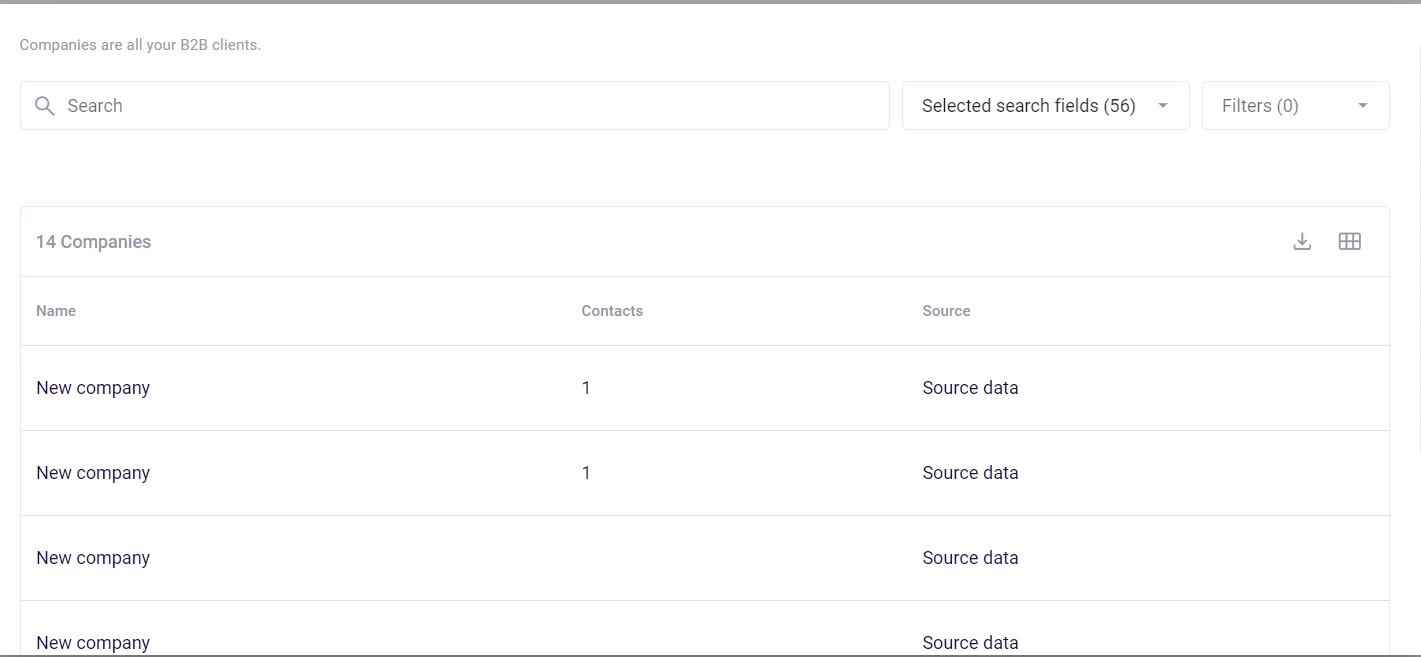
Companies are all your B2B clients. They are entities that hold information such as payment methods, addresses and attributes, but do not have login information.
How to create a Company (B2B)
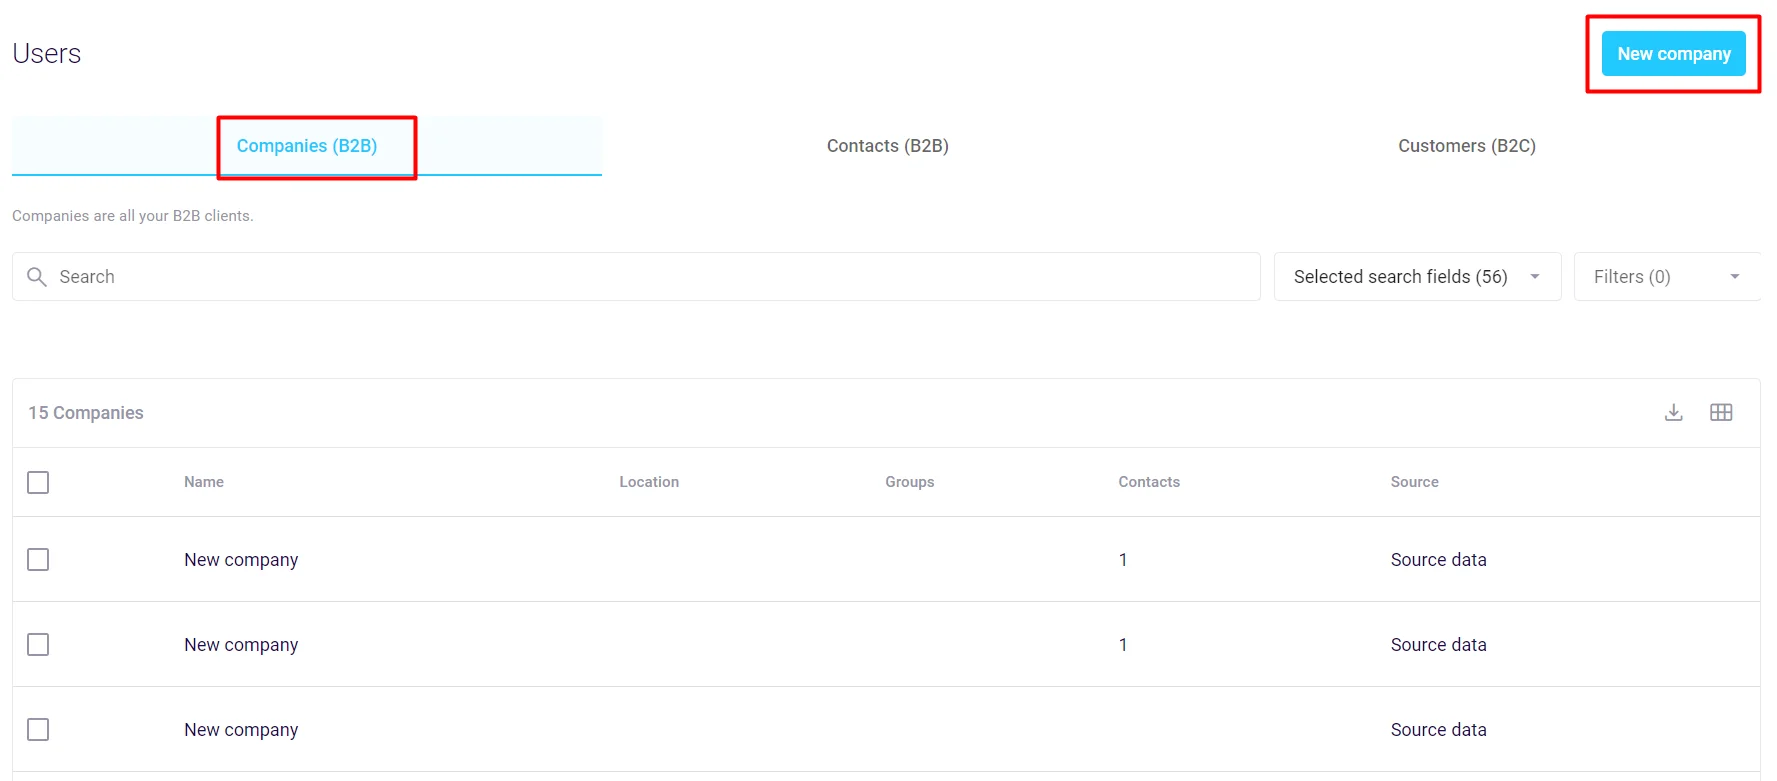
Select the 'Companies (B2B)' section and click on 'New company':
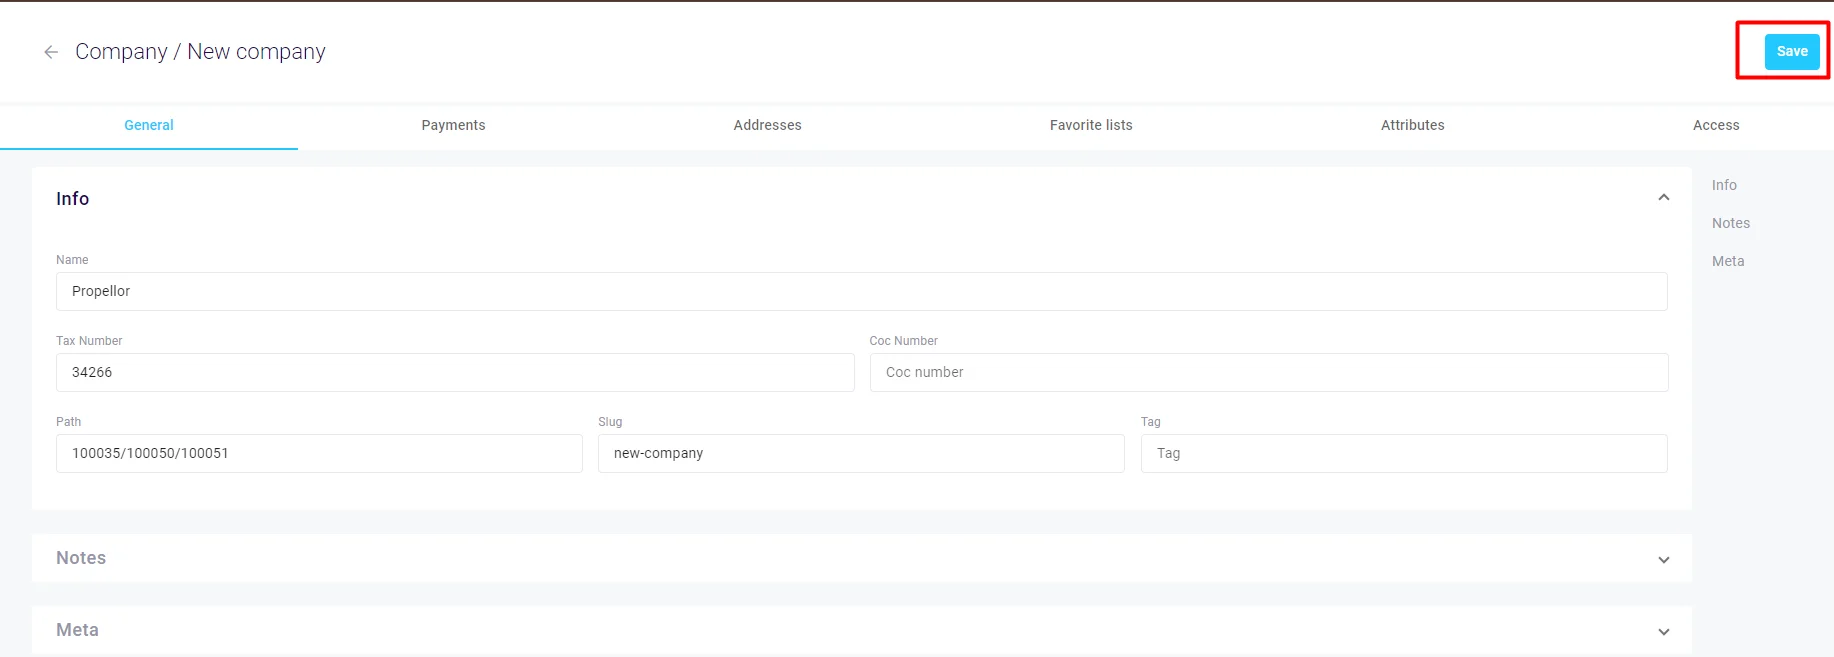
A new screen will appear where you should fill in the general company data in the 'General' Tab:
Additionally, you can fill in company's information in the 'Payments', 'Addresses', 'Favorite lists', 'Attributes' and 'Access' Tabs.
Once you are done with this, click on 'Save' in the upper right corner.
Contacts (B2B)
Contacts are the users (people) within a company that can act on its behalf. One contact can belong to and order on behalf of different companies.
How to create a Contact (B2B)
Select the 'Contacts (B2B)' section and click on 'New contact':

A new pop-up screen will appear where you will first have to choose the company where the contact will be created:
Once you choose the company, you will get to the screen where you should fill in the general contact information in the 'General' Tab:

Additionally, you can fill in contact's information in the 'Payments', 'Favorite lists', 'Attributes' and 'Access' Tabs.
Once you are done with this, click on 'Save' in the upper right corner.
Customers (B2C)
Customers are webshop users outside of a company and are typically used for B2C relationships.
How to create a Customer (B2C)
Select the 'Customers (B2C)' section and click on 'New customer':

A new pop-up screen will appear where you will first have to choose the usergroup where the customer will be created:
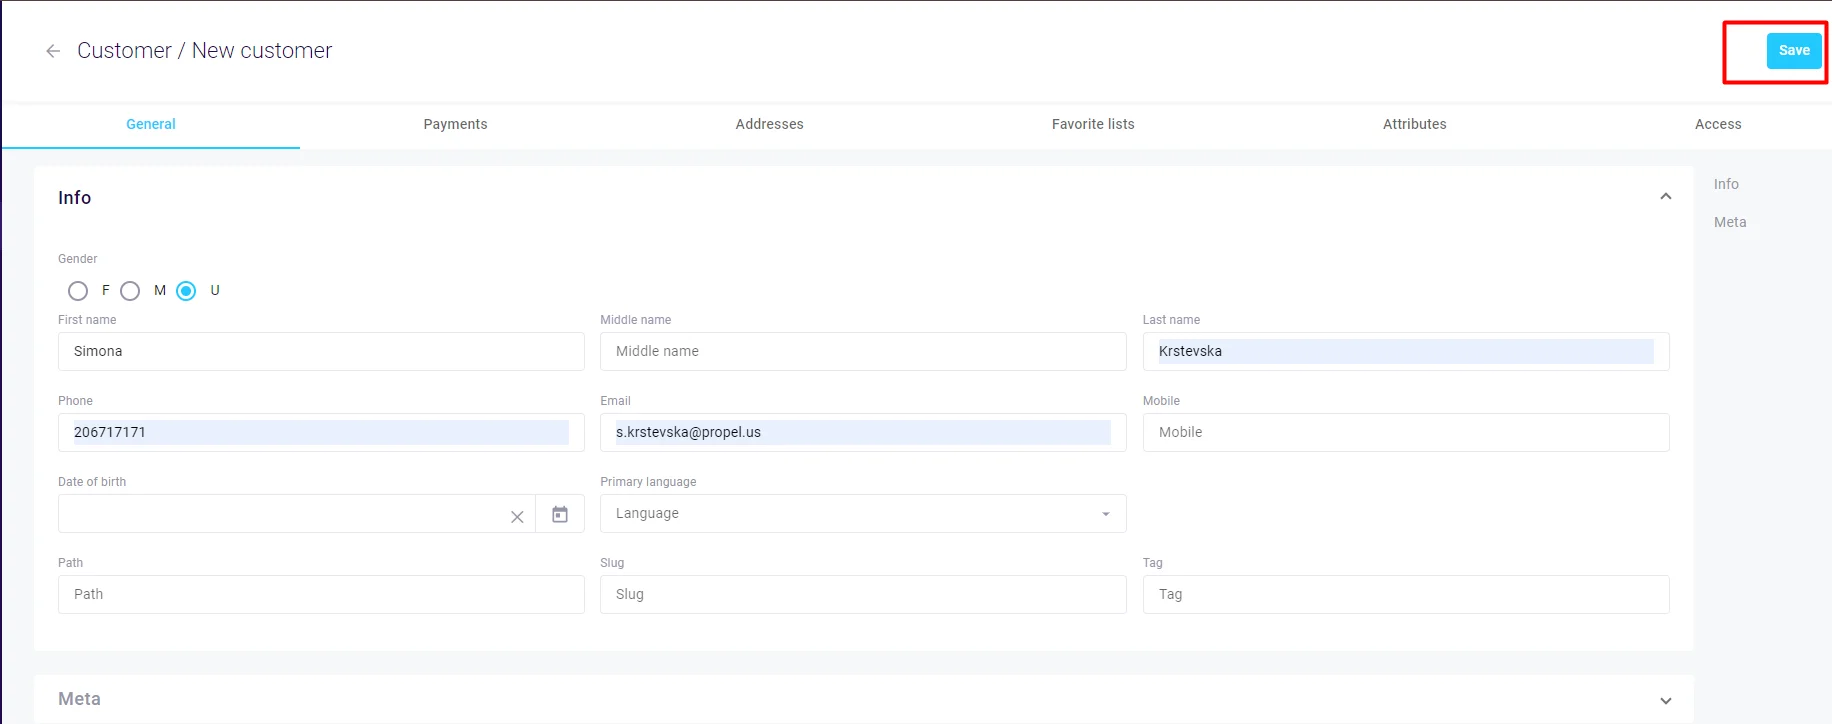
Once you choose the usergroup, you will get to the screen where you should fill in the general contact information in the 'General' Tab:
Additionally, you can fill in contact's information in the 'Payments', 'Addresses', 'Favorite lists', 'Attributes' and 'Access' Tabs.
Once you are done with this, click on 'Save' in the upper right corner.